
Turn your Figma designs into working Webflow sites with the Figma to Webflow plugin
If you are a designer working in Figma, you probably value how powerful and simple it is for designing websites. Once your Figma mockups are finished, though, putting them online often takes a lot of manual work. You have to rebuild every component of the design in the site builder of your choice, for example.
Fortunately, there is a more efficient way to put your Figma designs online. With the Figma to Webflow plugin, you save time and energy that you can spend on the design itself.
In this article, we show you how to use this plugin to turn your Figma designs into a working Webflow site.
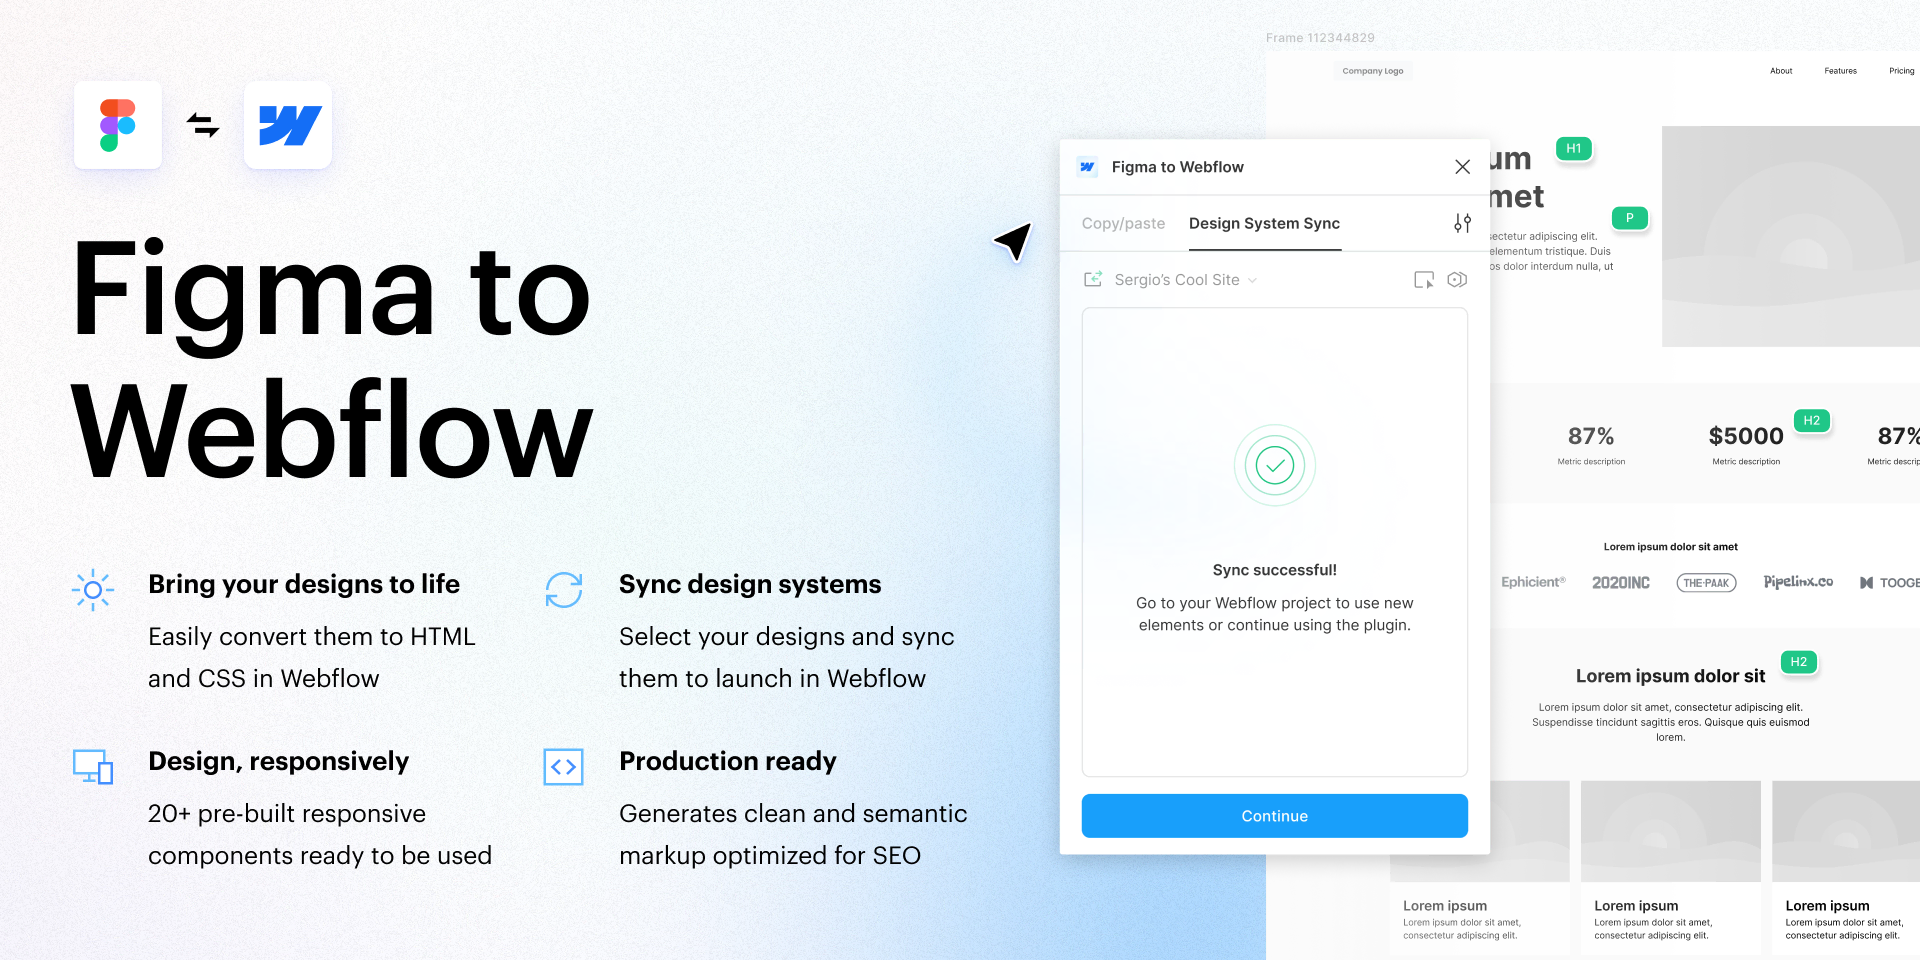
Built by Webflow, the Figma to Webflow plugin translates your Figma designs into Webflow-compatible HTML and CSS. It turns your carefully designed Figma layouts into responsive flexbox structures in your Webflow projects.
Once your design is imported into Webflow, you can fill it with content using the Webflow CMS, then launch the site. The plugin supports a wide range of design elements. It handles typography, borders, shadows, auto layout settings, absolute positioning, images, opacity, linear gradients and background images. It also converts shapes and vector graphics to SVG.
It also offers many extra features. These include more than 20 ready-to-use responsive structures and layouts, automatic generation of your style guide, export of vector nodes as SVG and support for more than 50 CSS declarations.
The Figma to Webflow plugin speeds up some steps, but it does not turn your Figma designs into a complete, effective Webflow site in 1 click. A successful website takes thought and work that go beyond transferring design elements. If you cannot do it on your own, you can partner with a Webflow agency to get the website you want.

Setting up the Figma to Webflow plugin
Installing the Figma to Webflow plugin is simple. It is only the first step to getting the most out of it, though.
Here are the installation steps to follow.
Step 1. Create a Figma account
If you are reading this article, you probably already use Figma. If not, sign up at figma.com.
Step 2. Launch the plugin
After you click "Try it out", a new Figma design file opens. Select the "Run" option. The plugin then asks for permission to access your Webflow account.
Step 3. Authorize your sites
Choose which Webflow projects the Figma to Webflow plugin can access. If you have several projects, take the time to select the right ones. You can also authorize the plugin for your entire Webflow workspace.
Once you have made your choice, click "Authorize app".
Step 4. Open the plugin in Figma
If the plugin does not open automatically in your Figma app, go to "Resources" and select the "Plugins" tab.
Then click "Run" to launch the Figma to Webflow plugin.
The plugin is now installed.
Installation is only the beginning. What happens next?
When you bring in your design elements with the Figma to Webflow plugin, several points deserve special attention.
Handling design elements in detail when moving to Webflow
- Auto layout
Figma's auto layout arranges and resizes elements dynamically. When you move to Webflow, check that its settings are preserved. Watch how elements resize and adapt to their new environment, then adjust them to keep the layout consistent and responsive. - Custom fonts
Custom fonts define the identity of your design. When you transfer from Figma to Webflow, check closely how they are handled. They must be imported correctly and display accurately in Webflow. Check that the fonts you chose exist in the Webflow font library. If not, upload your custom fonts to stay faithful to the design. - Classes
Classes in Figma define the style rules for elements. When you transfer to Webflow, make sure you keep these classes and map them. The style consistency you set up in Figma then carries over to Webflow, which simplifies the move from design to development. - Images
Images play a central role in web design, and both their quality and their placement matter a lot. When you transfer your design, check that every image comes across. Watch their optimization, so they keep their quality while loading quickly. Also check their position in your Webflow project to preserve the visual balance of your design. - HTML tags
Interpreting HTML tags correctly preserves the structure of your design. Check that the HTML structure generated by the Figma to Webflow plugin follows the intended hierarchy. Headings, paragraphs, lists and other HTML elements must be translated correctly in Webflow, because they matter as much for design as for accessibility. - Backgrounds
Background elements, gradients and images included, carry a lot of weight in the look of your design. When you move to Webflow, check that they are reproduced accurately. Check how gradients render, as well as the placement and size of background images. An accurate transfer of these elements preserves the visual appeal of your design.
By handling these points 1 by 1, you will get your move from Figma to Webflow right. Your design stays faithful to the original and the user experience stays consistent on the web.
How to uninstall the Figma to Webflow plugin
Uninstalling the Figma to Webflow plugin can seem complicated the first time. With a clear procedure, it is quick and easy.
To uninstall the Figma to Webflow plugin from your workspace, follow these steps:
- Step 1. Open your account settings
Click the "Account" dropdown menu in the navigation bar of your Figma workspace.
In this menu, select "Workspaces" to open your workspace settings.
In these settings, click the "Integrations" tab. This is where you manage all the integrations linked to your workspace. - Step 2. Choose the relevant workspace
If you have several workspaces, select the one you want to remove the plugin from in the "Approved apps" section. - Step 3. Revoke access
In the list of approved apps, find the "Webflow from Figma to Site" app.
Click it to show the "Revoke" option. Select it to uninstall the plugin from your workspace.
How to remove the plugin from your website
To remove the Figma to Webflow plugin from a specific site, follow these steps:
- Step 1. Go to your Webflow dashboard
Log in to your Webflow account and open your dashboard. - Step 2. Find the site
In your list of sites, find the one you want to remove the plugin from. Click the 3 dots (the options menu) next to the site name. - Step 3. Open the site settings
In the dropdown menu, click "Settings" to open the settings of the selected site. - Step 4. Go to integrations
In the settings, open the "Site settings" section. You will find an "Integrations" subsection there. Click it. - Step 5. Open approved apps
Under "Integrations", select "Approved apps". This is where you manage the plugins and integrations associated with your site. - Step 6. View the account integration settings
To open the account integration settings for this site, click "View". - Step 7. Open authorized apps
In the account integration settings, click "Account settings". This is where you manage all the apps authorized for this site. - Step 8. Revoke access
Find the "Webflow from Figma to Site" app in the list of authorized apps. To remove the plugin, select the "Revoke" option next to it.
With these steps, you cleanly uninstall the Figma to Webflow plugin from your Figma workspace and from the Webflow site concerned.
Conclusion
Combining Figma and Webflow simplifies your site design process. With a reliable plugin, you transfer your designs from Figma to Webflow in a few clicks.