
Notion is one of the fastest-growing productivity tools of recent years. It covers a lot of ground and won over its users in very little time.
A Notion page starts out blank. That makes the tool easy to pick up, but it also makes its most effective uses harder to discover.
There are many ways to use Notion. If you don't know where to start, the tool can feel intimidating. After reading this article, you will be well on your way to becoming a Notion expert.
In this beginner's guide to Notion, we share simple methods to get started and understand the basic principles of the tool.
Follow these steps one by one and you will quickly master this powerful tool.
Here is our ultimate beginner's guide to Notion.
Building with blocks
The core element of Notion is the block, which holds all the content. There are about 90 blocks to date, and more are being added. You will quickly see that blocks let you create any type of written content. Another handy detail, Notion automatically recognizes Markdown commands. You can also embed any type of media in blocks, such as images, PDFs or YouTube videos.
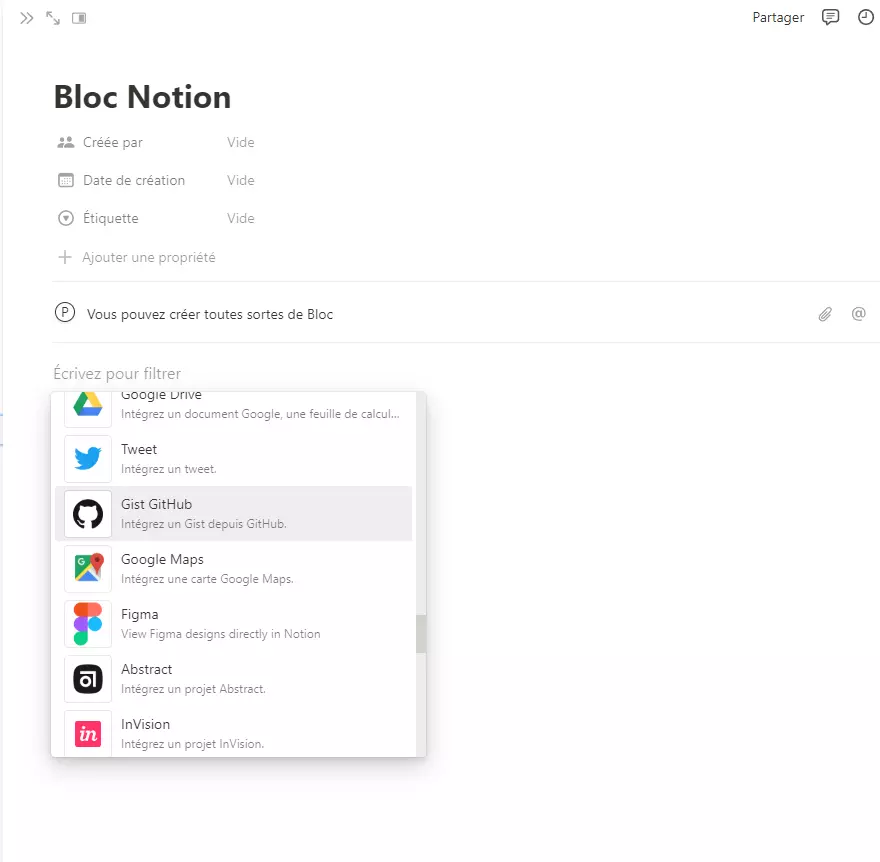
What blocks can do keeps growing. Notion recently added the option to insert Figma files directly into a page. You can also insert Framer prototypes, a Google Map and even files stored on OneDrive in a block. The basic Notion block has come a long way since the tool's early days, with new ways of working with files.
Organizing your pages with databases
You can also create a database. In practice, it is a collection of pages. Each item in a database has its own editable page, where you can store other subpages, and so on. Each page in a database has customizable properties, which you use to tag your items, give them context and display them in different ways.
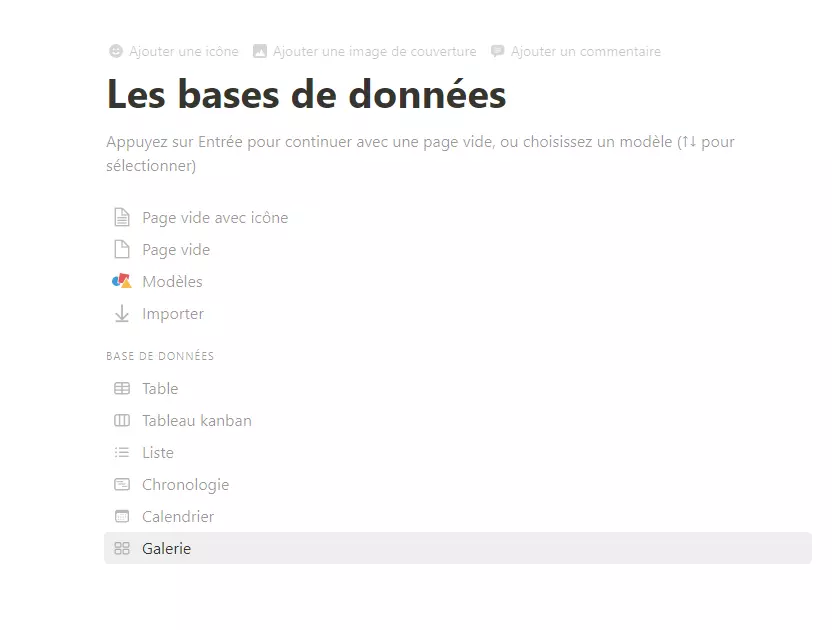
These databases can be displayed in several ways.
For example, you can use a calendar view, a list view, a board view, a gallery view, a table view and a timeline view. Each view takes the items (pages) in the database and displays them in a specific way, based on the properties you have set for each item. So if your pages have a "Created date" property, you can build a calendar view in seconds that sorts your items by that date. Notion regularly improves its databases and adds new features to them.
Going further with databases
Databases go a little beyond the scope of a beginner's guide. Still, we think that understanding each database view will help you quickly grasp Notion's potential.
To recap, a database is a collection of pages. It can be created inside a block or take up a full page. Each item in a database is a page in its own right, with customizable properties that keep the whole thing organized.

Once you have created your first database, you can add the following views to display your items in different ways. To create a view, click "Add a view" just below your database description. A small sidebar opens on the right, with 6 options to choose from. You can create several views for the same database and look at your items from several angles.
Each type of view matches a layout. The layouts are:
- Table layout. This view presents your items in rows and columns.
- Board layout. Formerly called the "Kanban view", this view groups your items by a property and lets you move each page from 1 group to another, from left to right or right to left.
- Timeline layout. This view sorts items by their date properties and shows them on a timeline, from left to right.
- Calendar layout. This view also sorts items by their date properties and places them on a classic calendar.
- List layout. This simple view presents all your items in a single long list and lets you choose how they are sorted.
- Gallery layout. This view works best with image properties or files. It presents your items as large cards, ideal for visuals.
How useful each view is depends on how you work, of course. These are the ones we find most useful for a beginner.
Organizing your Notion workspace
When you create an account, Notion automatically creates a page called "[Your name]'s Workspace". This first page can hold any type of block or additional page.
Since you have already worked with blocks, the next step is to create a new page. You have 2 options. You can create a subpage in your default workspace or create a new page from the Notion menu.
To keep your Notion workspace well organized, we recommend starting with a subpage of the workspace.
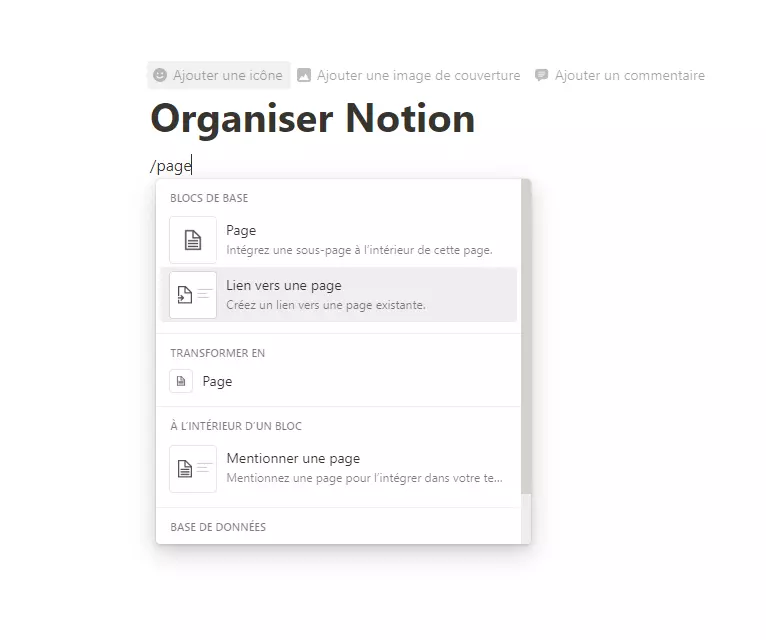
To do this, type / to bring up the block options, then type "page". Select the first option, "Page -> Embed a subpage in this page". You will then see Notion's starter templates along with several possible page types, including databases.
Once the page is created, use the sidebar or the back buttons to return to the main workspace.
You can nest as many subpages as you like, but we advise against it. You can stay organized without overloading your top-level pages. Notion also lets you link pages together, a feature we find useful and will come back to later. The general rule in Notion is that nothing should be more than 3 clicks away.
Now open the blank subpage again. You already know how to add text and media, so we are going to create an inline database. To do this, type / to bring up the block options, type "table" and select the second option, "< table > view".
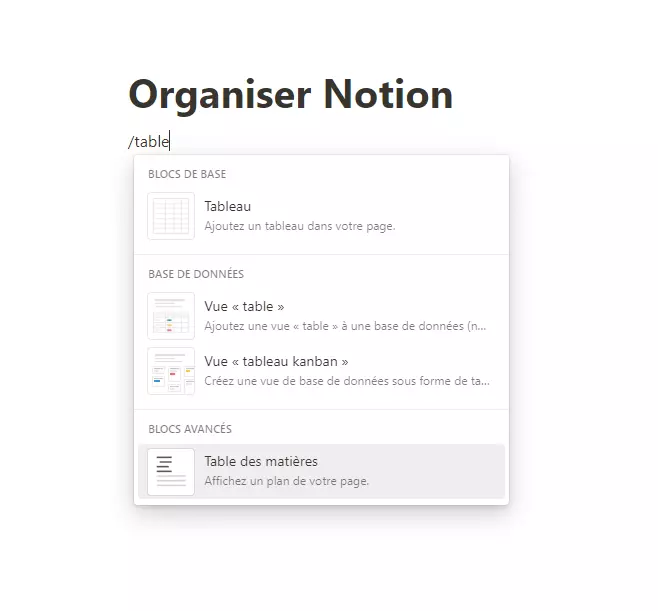
You will also notice a simple table option. It creates a basic table with a few rows, like the ones in a Word document or in Excel, and it is not what we are looking for. We want a table view, because it connects to a database. We are going to use this page to build a habit tracker.
Building a habit tracker
Notion now asks you to select a data source. Since we are creating a brand new database, click "New database" at the bottom. A new database table appears. Give it a name, for example "Habit tracker".
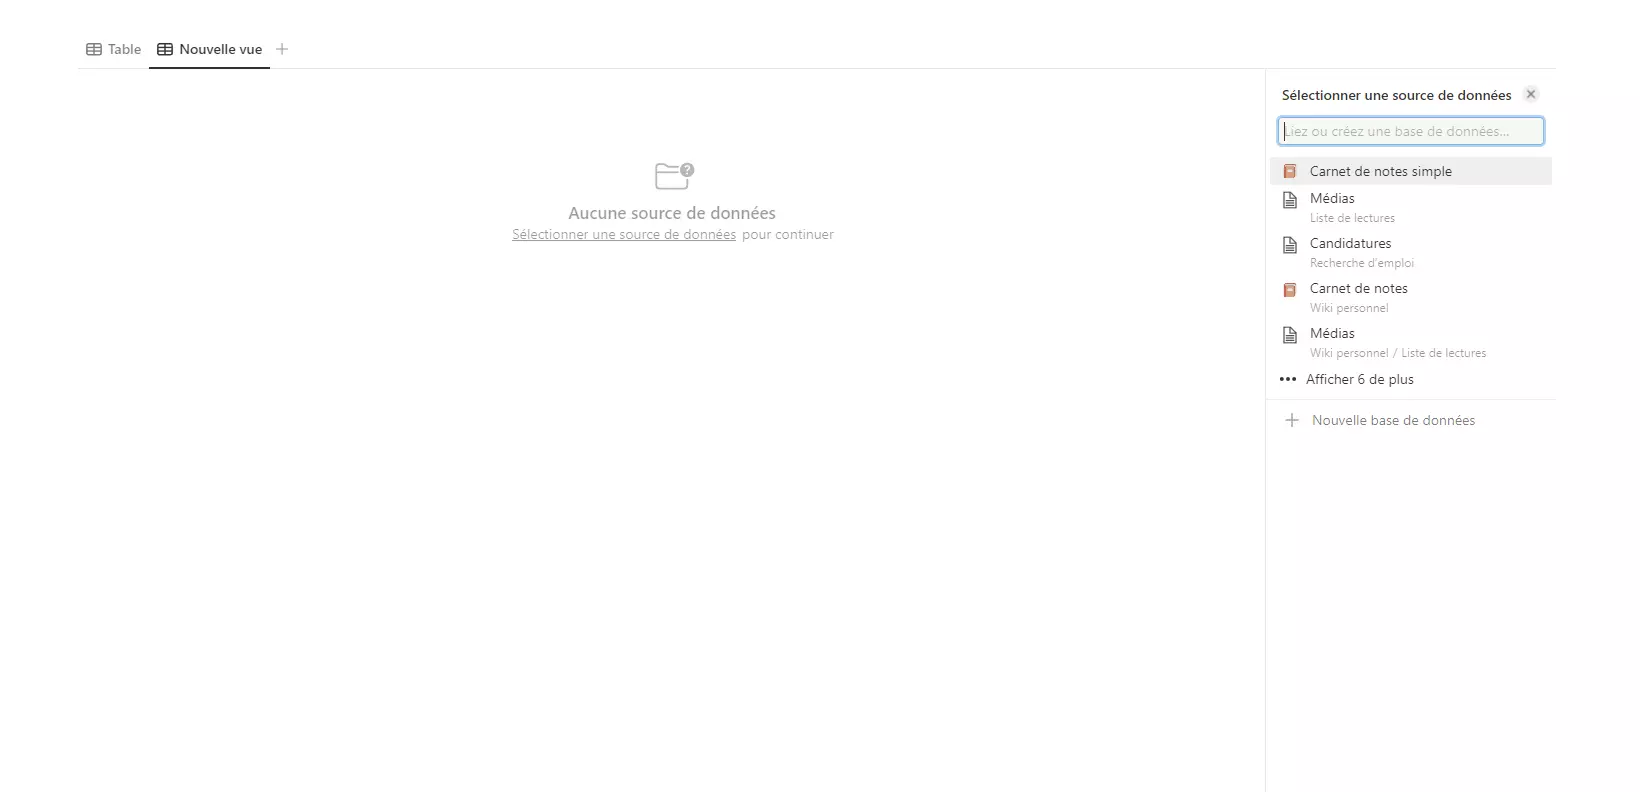
To start tracking your habits, create 7 columns (1 for each day of the week) by clicking +. Then click each column and select "Edit property". Rename each column with a day of the week and choose the "checkbox" property type.
Add as many rows as you need, without trying to track everything from day 1. You can always add more later. You can also adjust the width of each column as needed.
(Does the result look a little plain? You can add icons and custom cover images to dress it up.)
Notion is fully customizable, and this method is just 1 simple way, among many others, to build this kind of tool. This simplicity does come with a few drawbacks. The table does not clear itself each week. You will have to clear everything by hand and start over every week. If you don't need to keep the data, that is not a problem. If you want to look back at your habits over a month, for example, you will need a more advanced approach.
As you can see, Notion gives you a lot of freedom. It also offers very complete filters that will take you a step further, but we won't cover them here.
Tasks
There are several ways to create a task list in Notion. You can create a database where each item is a task. Each task can then get properties, such as "To start", "In progress" or "Done". You can also create a simple checkbox property and tick it once the task is done. You can then add a small symbol to it, such as a green check mark.
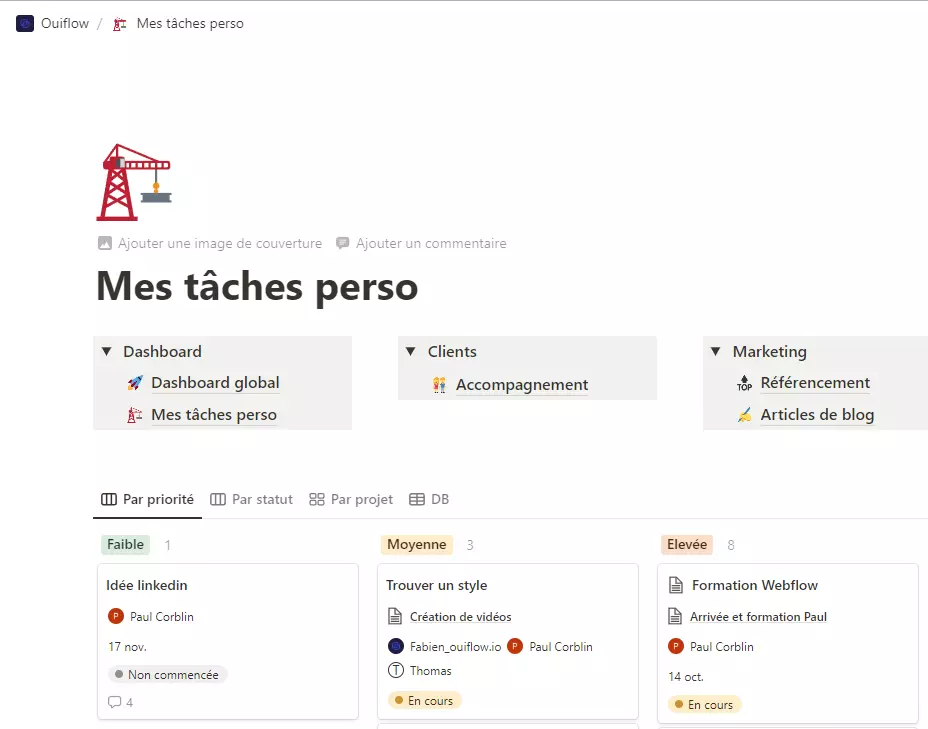
Displayed in a board layout with status properties, your task list looks like a Kanban board where each task moves from left to right. Displayed as a list, it shows up as a series of boxes you tick as you go.
Of course, you can create properties to fit all your needs. For example, a property can show which area of your life a task relates to (home, finances, school), then be used to sort your tasks by area. It is handy for focusing on work tasks and keeping household chores for the evening.
Notion makes it easy to create a simple task list. Since you can share your workspace with a friend or a family member, you can also quickly create shared task lists, something even our favorite task management apps don't always offer.
A "cloud" to back up your data
Part of Notion is free, with file size limits. If you move to a paid plan, you can upload files without limits, which makes Notion a good option for storing backup copies of your files.
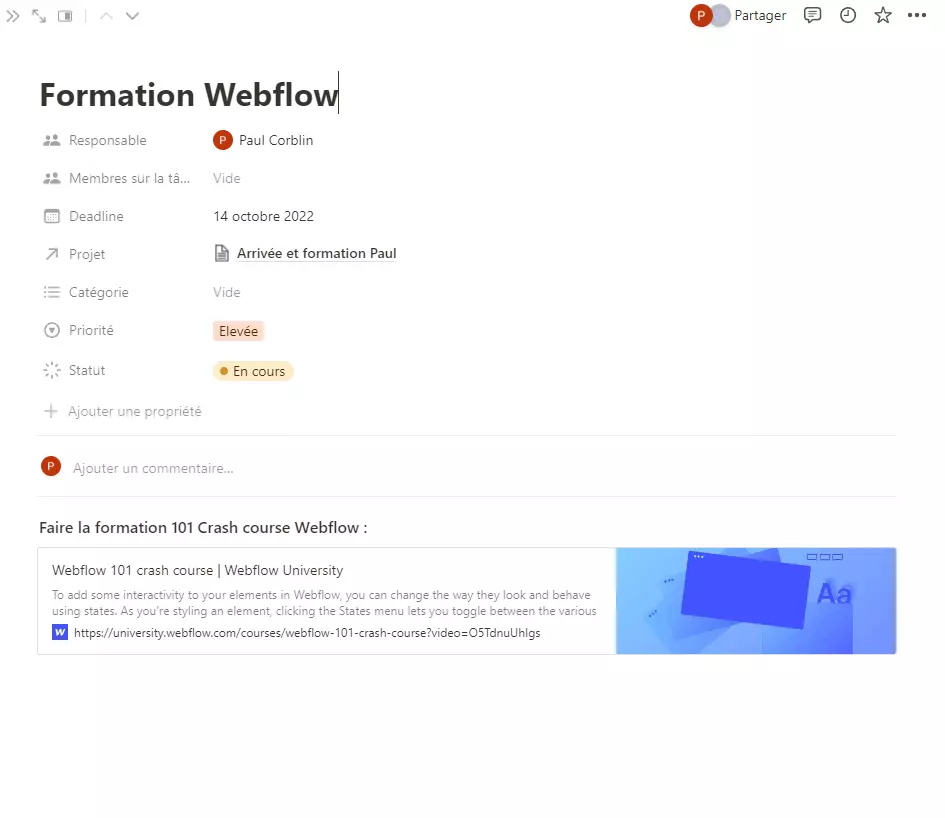
Notion can store files in several ways. You can create "File" properties on a page that simply hold a file. You can create a "File" block, which lets you upload a file between the other blocks of a page. Finally, you can insert a file with the new OneDrive, Google Drive or Dropbox blocks, which embed it directly in a Notion page. The OneDrive option in particular does not store the file in Notion. It only embeds a preview of the file.
If you are a professional, you probably pile up documents and folders tied to a specific client or situation. In a Notion database, create an item tied to the main subject, such as the client's name or the project name. You can then add file properties to it to store the related documentation. Say you have every new client fill out an onboarding document. Once it is filled out, you can scan it and upload it to the file property in Notion, and keep a backup copy of the document wherever you can access Notion.
Using Notion to store digital files has a few advantages.
Files sync quickly, much faster than with Microsoft OneDrive or iCloud Drive. If you share documents with other members of your team, they upload and sync very quickly for everyone. You can easily find a file across your whole Notion workspace with the quick search in the left sidebar. If Google Drive stores all your files, Notion can also serve as a backup copy of your most-used files or the ones you share with your team. Uploading to Notion is manual (a service like BackBlaze syncs continuously), so you will probably forget a file now and then. We recommend using Notion as an extra layer in your backup strategy, alongside another solution.
The planner
Notion lets you build pretty much anything you want. One of its most common uses is as a monthly, weekly or daily planner. It is less complete than dedicated task management or calendar software, but it remains very flexible. In particular, Notion lets you bring several databases together in one place. You can see your task list and your habit tracker in your weekly or daily planner.
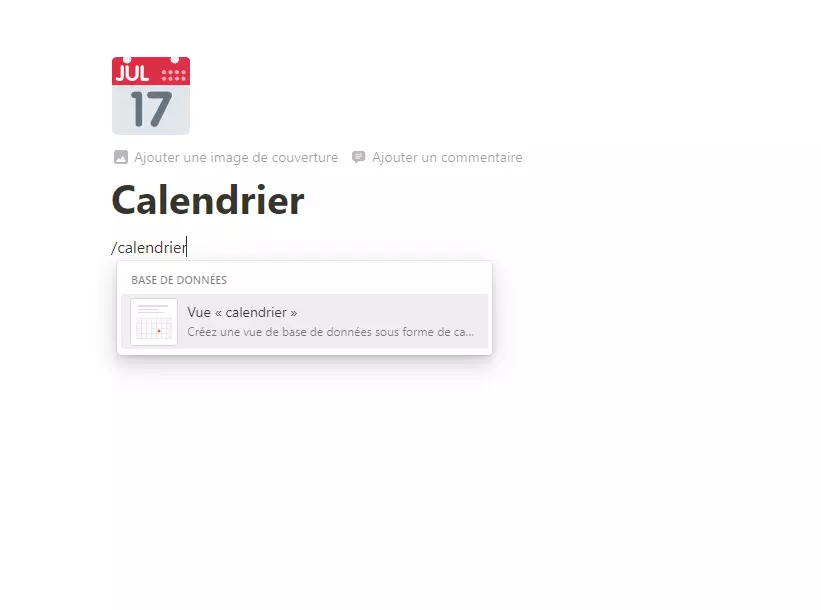
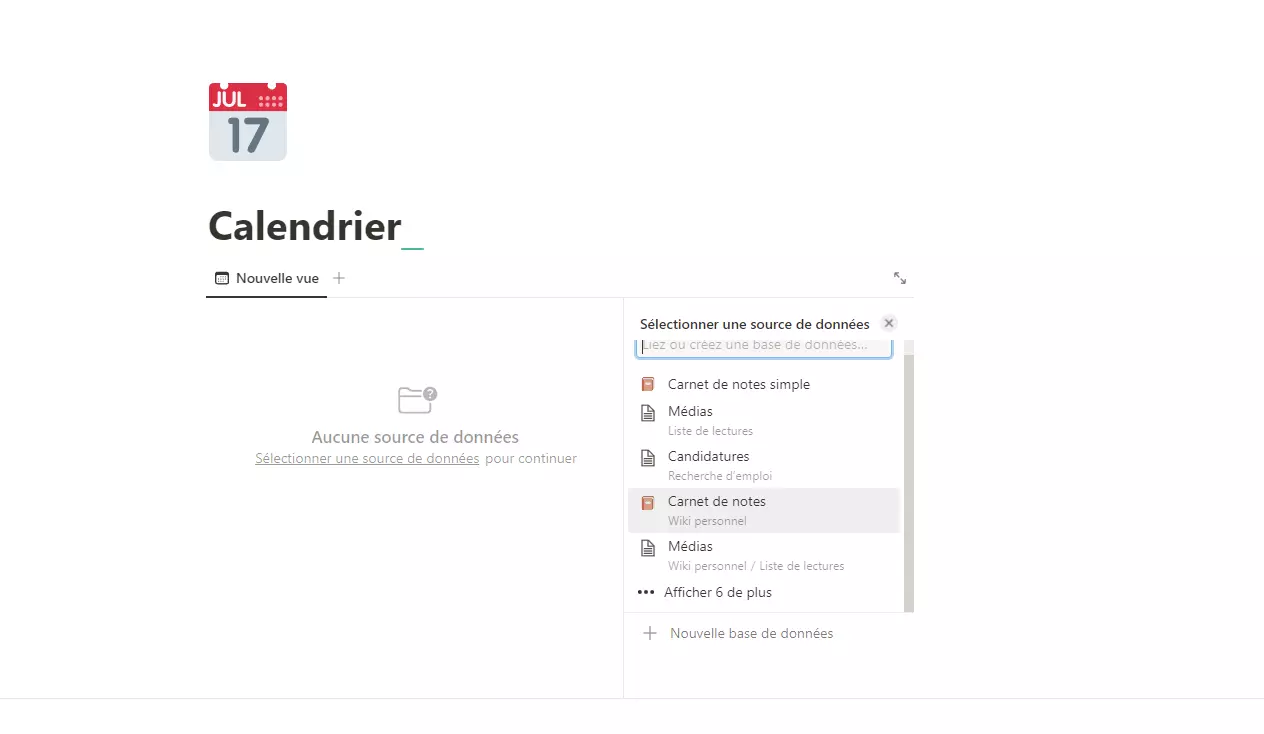
Start by creating a new page called "Planner". To create a page, press Cmd + N or type /page. In the body of the page, type /calendar, then click "New database" at the bottom right. Name this database "Calendar" or "Planner". A calendar then appears on your page.
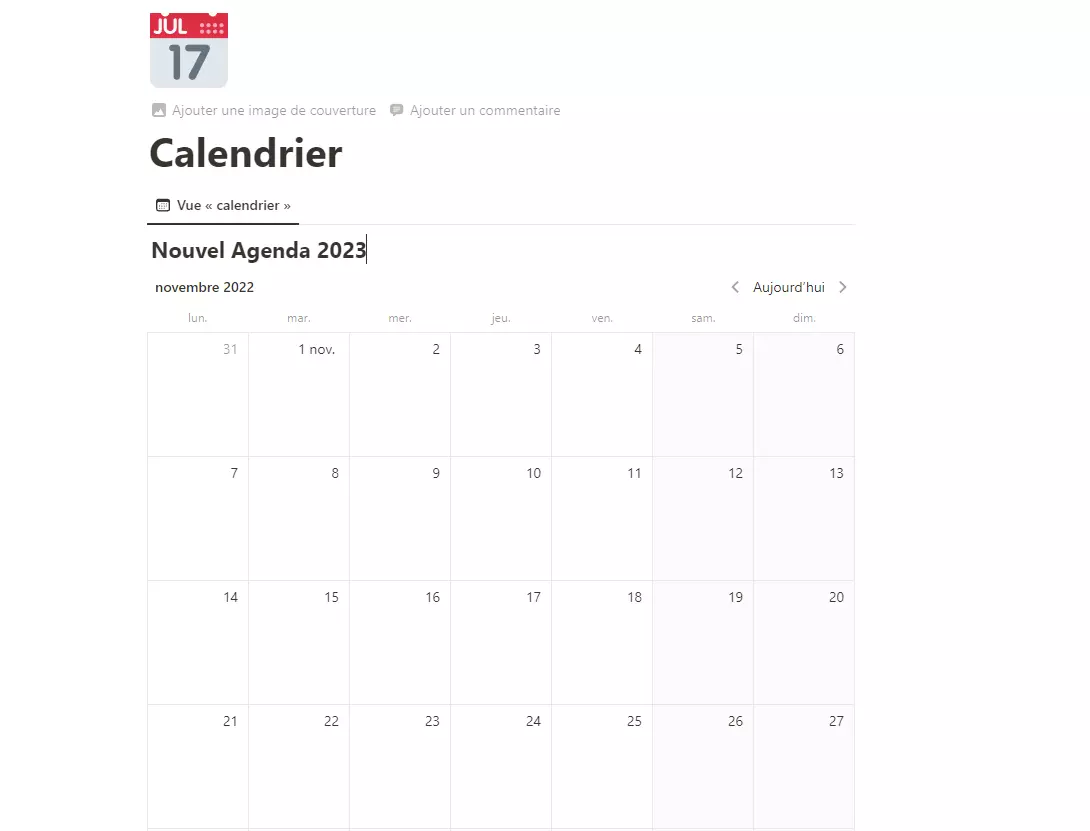
When you hover over each date, a + button appears in the top right corner. Clicking it creates a new entry. Click the + button on today's date and add the date to the title. This entry is your day. You can add several properties to this page and embed some of your other databases in its body.
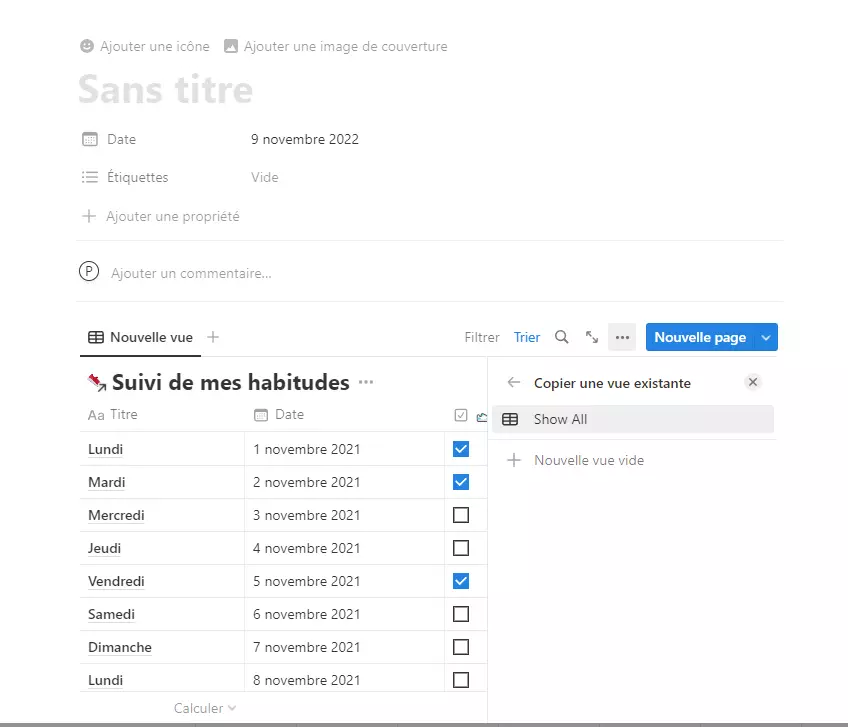
Here is how to embed the habit tracker in the entry.
Click into the entry and type /create. Then search for your habit tracker database and open it. Your habit tracker now appears in your planner. You can also embed a task list if you have one, or simply add a few checkboxes for the day's tasks. The body of the entry can hold meeting notes, an activity log or anything else you want to write down.
Practical tips
We have covered the most common basic uses of Notion. Here are a few more quick tips.
- The Personal plan is free, with unlimited blocks and pages. For $4 per month, you also get unlimited file uploads.
- Table formulas take some practice and don't fully replace Excel, Google Sheets or Airtable for a regular spreadsheet user, but anyone can get the hang of them (Marie Poulin just added a mini-course on Notion formulas to her Notion Mastery course).
- We use the Toggle block a lot to hide chunks of text or other blocks on a page. It keeps the page compact and lets you expand its content when needed. You can also turn a block into another type by right-clicking it and choosing "Turn into".
- Formatting can cause problems if you export text for a blog post or a newsletter. We write most of our articles in apps like Ulysses, Bear or Obsidian, then add them to our publishing calendar in Notion.
- You can add page covers and emojis, and the Unsplash integration works very well.
- You can also create custom icons and page covers with Canva.
- You can share a page publicly, almost like a blog post. You will need to build your own index, which is doable for a few pieces of content.
- Type @ followed by a page name to mention it from any other page. You can also copy and paste the page link, and Notion automatically creates an internal link.
- Notion has a very complete template library, fed by its user community. If you have a use case in mind, there is probably already a template to try.
- Notion has a very effective search feature, similar to Apple's Spotlight search. Click "Quick Find" in the top left corner or type /p to open it.
That's it for our ultimate beginner's guide to Notion. You now have all the keys to master the basics of Notion.
To go further, we recommend the Notion courses by Shubham Sharma.
Happy learning with Notion.
Over to you.